Prerequisites#
Software requirements#
Here we cover:
Git, bash, and all#
Apart from installing the environment, it’s highly recommended that you familiarize yourself with git, GitHub and bash. Learn git branching and GitHowTo are nice interactive tutorials to grasp the basics of git.
As for bash, it’s just very rewarding to be familiar with UNIX OS and command-line utils like wc, cat, sed, sort, etc. These utilities have been constantly optimized throughout several decades of UNIX existence, and many basic operations can be done with these bash utils very efficiently: counting the number of lines in a file, replacing an expression with another one for all files in a folder, etc.
Setting the environment#
You’ve got several alternatives to set up your learning environment:
Kaggle Notebooks or Azure ML, i.e. avoid local configurations and just use the browser
Pip & Anaconda
uv
Kaggle Notebooks or Azure ML#
The easiest way to start working with course materials (no local software installations needed) is to visit Kaggle Dataset mlcourse.ai and fork some Notebooks (better to keep them private). All your Jupyter notebooks with Anaconda are live and running in your browser. Almost all needed datasets are there as well. However, uploading other datasets might be tiresome.
Pip & Anaconda#
Most python packages like NumPy, Pandas, or Sklearn can be installed manually with pip – Python installer, e.g. pip install numpy. Additionally, you’ll need Xgboost, Vowpal Wabbit, and (maybe) LightGBM and CatBoost for competitions.
You can install Anaconda 3 – a distribution that contains the latest Python with NumPy, Pandas, Sklearn, Jupyter, and lots of other libraries. However, some other packages are also used in our course – Xgboost and/or LightGBM and/or CatBoost and Vowpal Wabbit to name a few. In addition, the Graphviz library must be installed. Installing some of them on Windows might be painful.
uv#
uv is a fast Python dependency manager.
Installing uv:
pip install uv
Installing dependencies from the uv.lock file:
uv sync
This will install the required packages. For the rest, please refer to uv docs.
Jupyter Notebooks#
The recommended way of working with course materials is running Jupyter notebooks. If new to this, take a look at jupyter.org. In a nutshell, this is a way of mixing code, graphics, MarkDown, latex, etc. in a single development environment. Perfect for sharing your work/ideas, for prototyping and for working with educative materials.
To start working with the course materials (i.e. Jupyter notebooks):
install jupyter, this depends on how you set up the environment in the previous step
download/clone the course repo repo
run
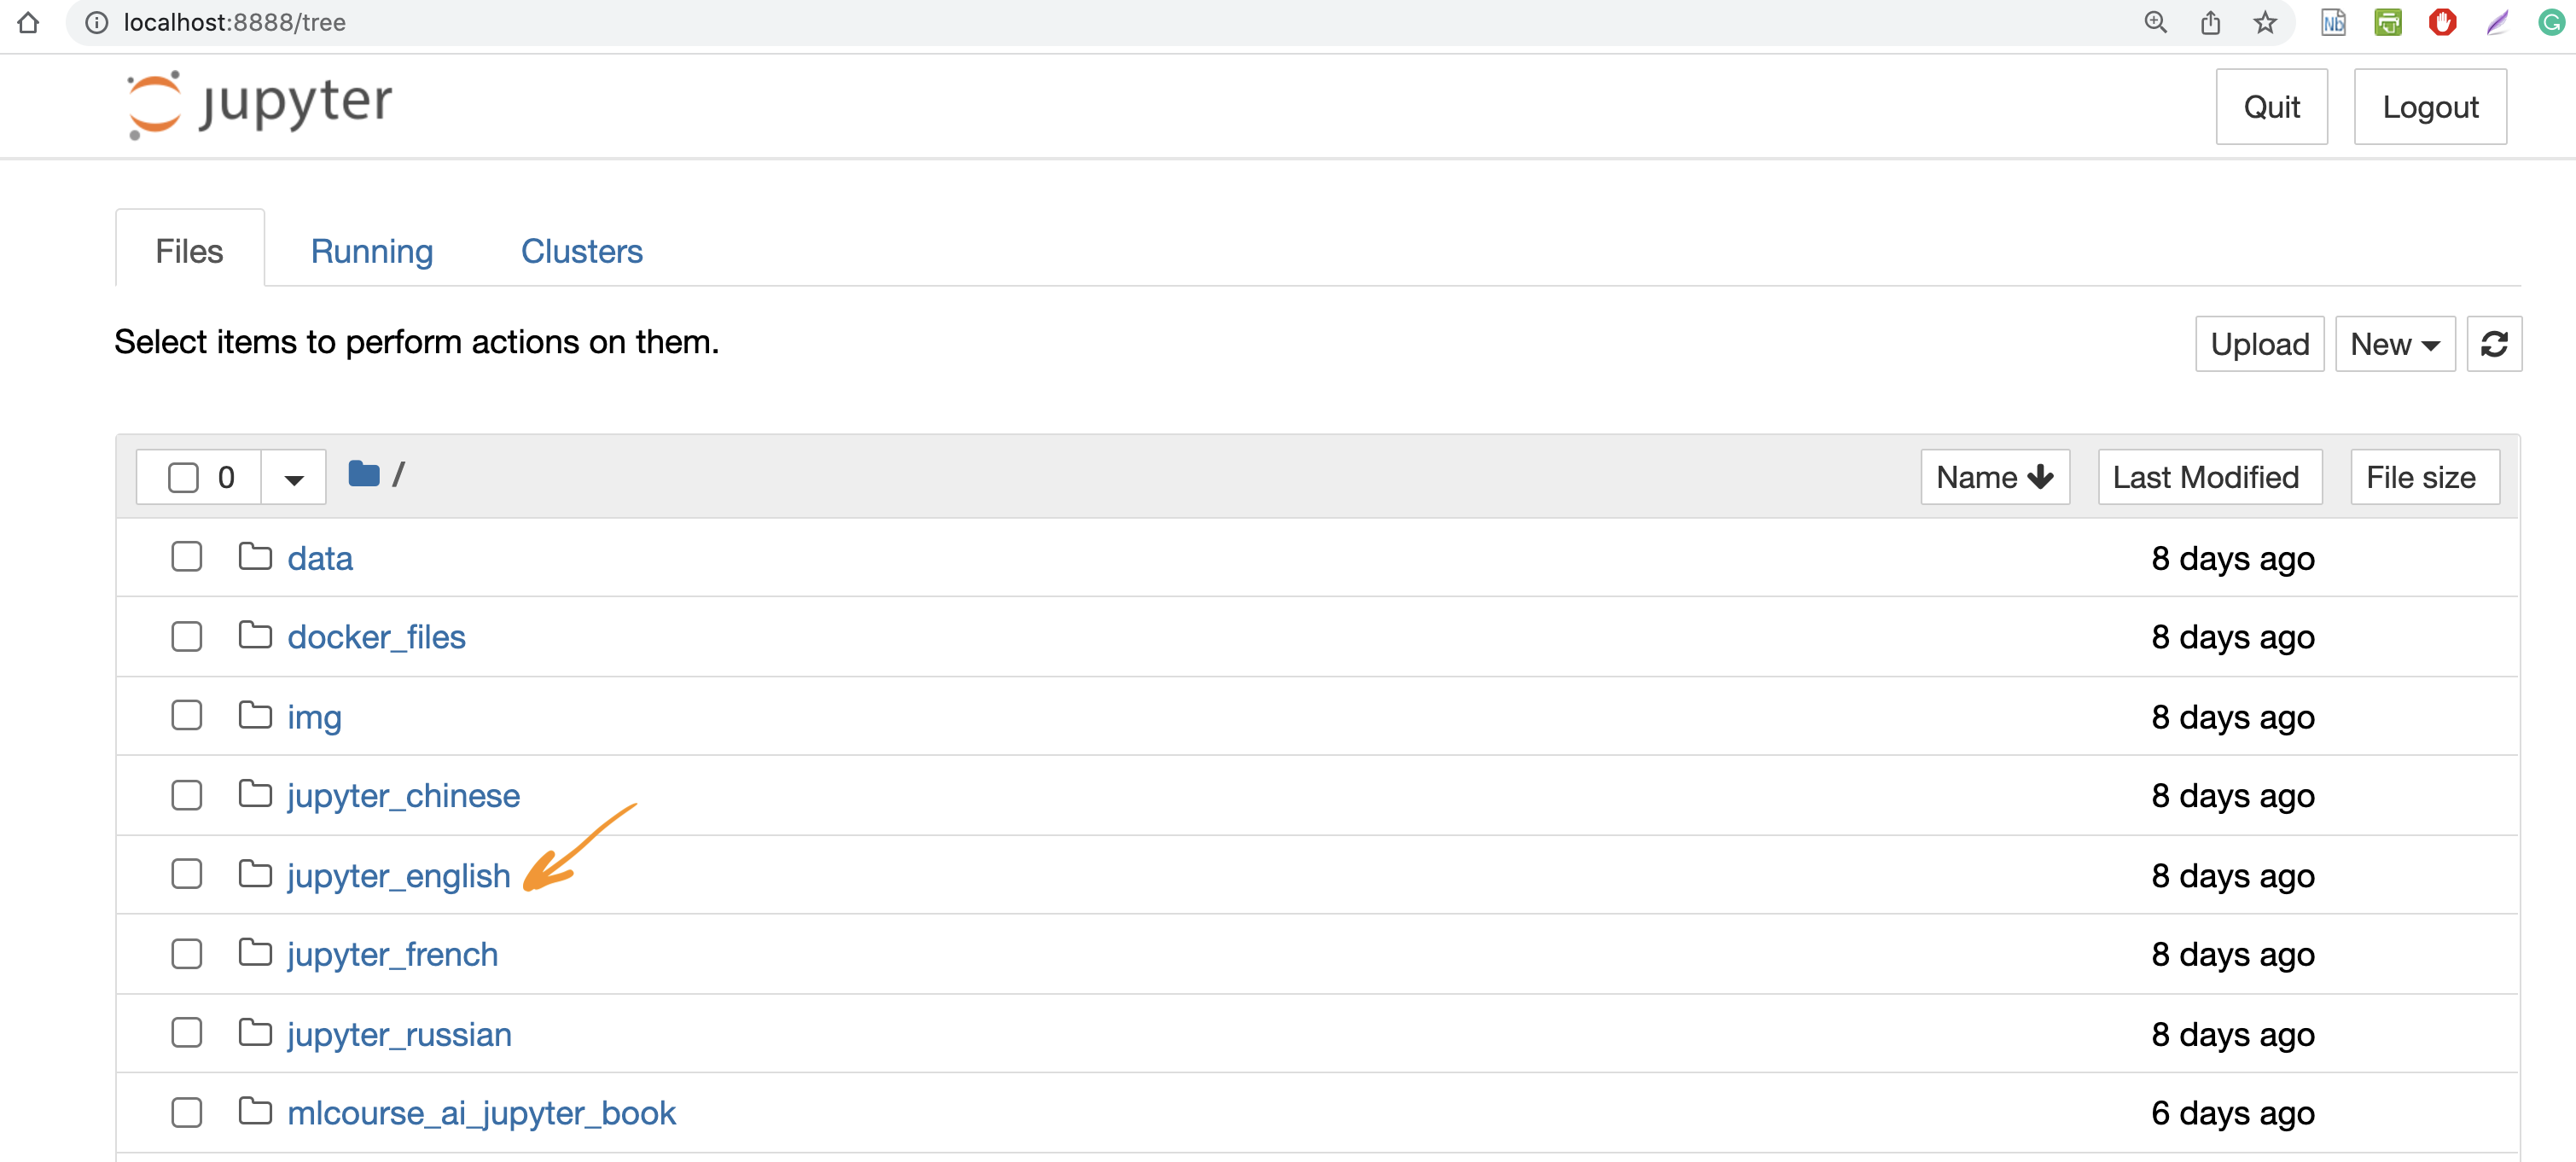
jupyter-notebookfrom the downloaded directory mlcourse.ai.this opens http://localhost:8888/tree (8888 is the default port) in your browser, from there you can run Jupyter notebooks in the
jupyter_englishfolder (NB: the most up-to-date version of course materials is in themlcourse_ai_jupyter_bookfolder, see below)check Jupyter docs and the interactive demo (“try classic notebook”) to get hands dirty with Jupyter
Jupyter Book#
Note: not to be confused with Jupyter Notebooks
The mlcourse.ai website renders a Jupyter book (v1). A strong advantage of this type of content is that it’s actually a book with executable content meaning that the pages that you see are not just static but they are updated with each build of the book by running all Python code. This also guarantees (well, if the book is frequently re-built, say, through a CI/CD process) that the book actually shows working Python code.
To reproduce all the code that you see on the current website (lectures, assignments, solutions, etc. for all topic), clone the course repo, navigate to the mlcourse.ai directory, and run
uv run jupyter-book build mlcourse_ai_jupyter_book
<<<<<<< HEAD Note: this may take a long time, about an hour, to play around with a toy example, check how a template JupyterBook is created.#
Note: this may take a long time, about an hour, to play around with a toy example, check how a template JupyterBook is created.
a9458e301 (downgrade jupyter-book to v1)
Then, open the HTML file located at mlcourse_ai_jupyter_book/_build/html/index.html.
Note: Jupyter Book v1 is currently used